Realistic Human Portrait
Creating a realistic human using Blender was one of my most exciting projects. This was my first attempt at such a challenging task, and I'm proud of the result I achieved.

Project Overview
To achieve this, I followed the Human course which covers a step-by-step process. It started with sculpting a base mesh for a human head using a 3D version of the Loomis method. I then detailed each of the facial features using a range of references to build a generic male head. This involved studying the intricacies of the human face and using that knowledge to create a detailed base mesh that could be used to morph into a range of different ages, weights, and genders. Common facial features from around the world were also covered.
After creating a few different head models, I chose one of the male heads to take to the next stage, which was retopology. This involved creating a clean, optimized mesh that would allow me to add details such as skin, pores, wrinkles, and other small details. To achieve this, I used the multi-res modifier to sculpt in the necessary details.

Once I had created a UV map for the head, I moved on to the texturing stage. This involved a mixture of hand-painted color zones, baked utility maps like curvature and cavity maps, procedural blemishes, and micro normal details. The eyes also make use of procedural material shaders.

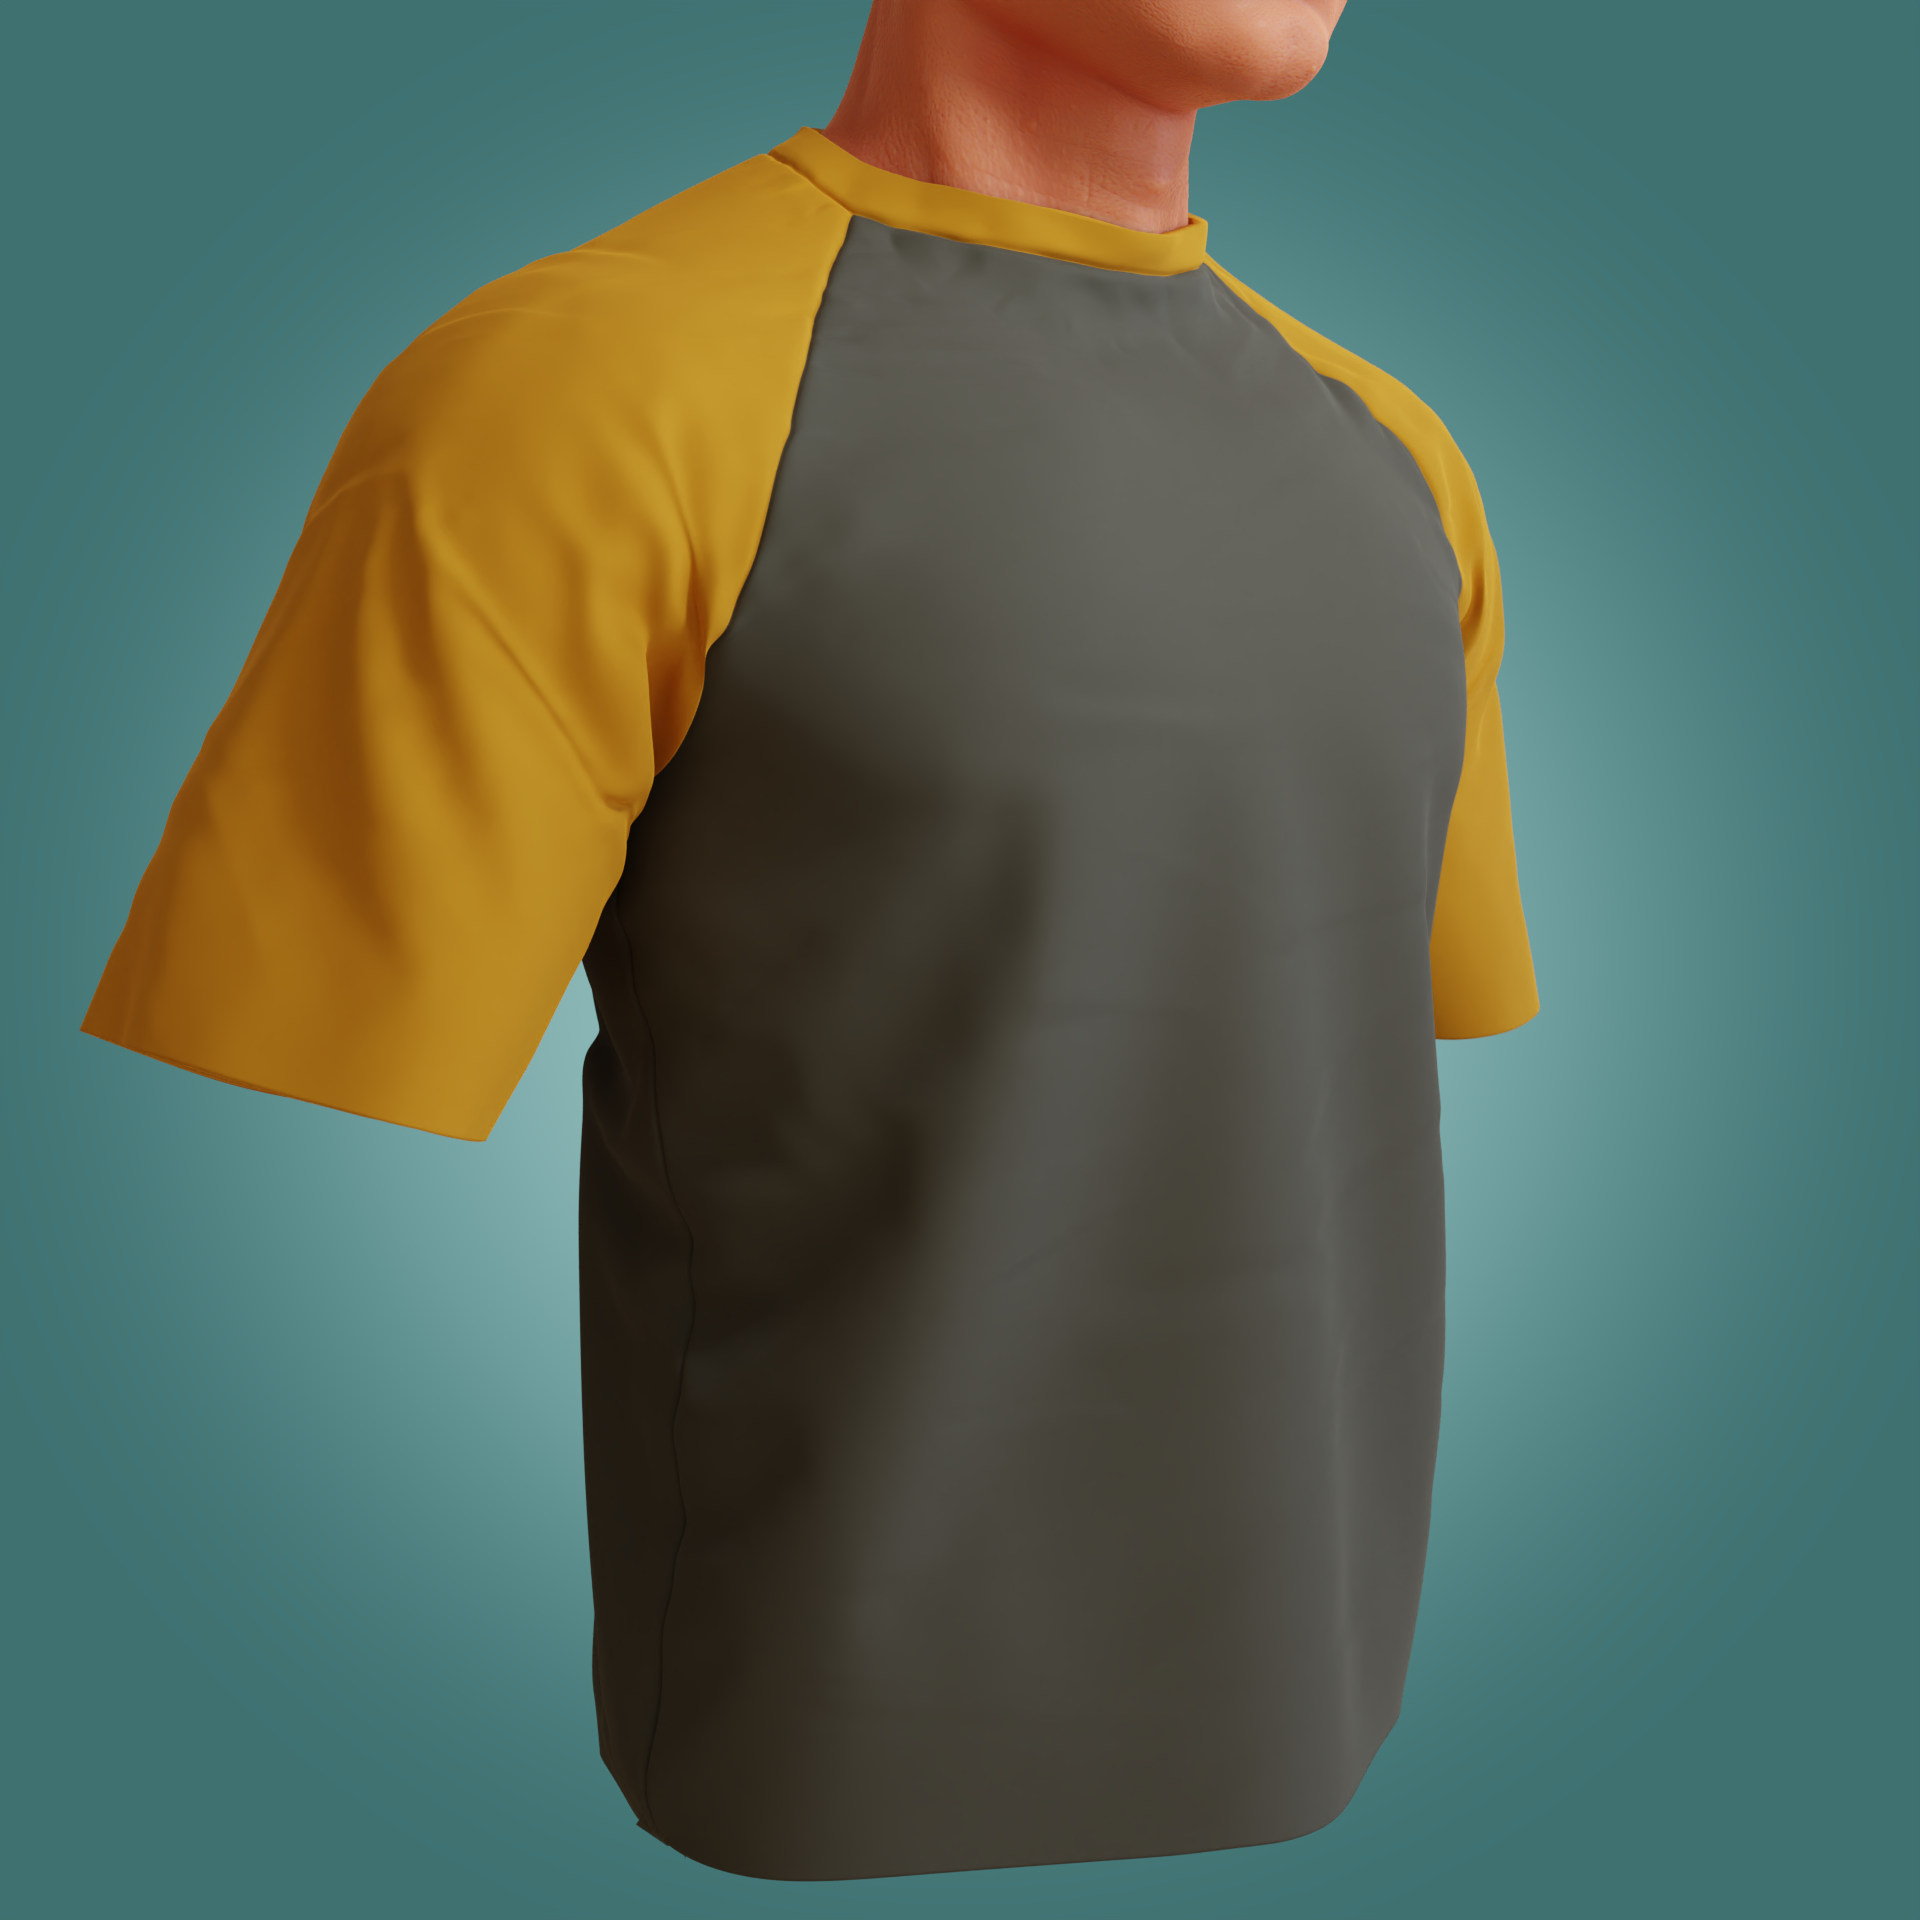
To create the raglan shirt, I found a clothing pattern online and used cloth simulation and stitching to put the parts together over a base mesh as a collision. Similar to how you would do it in Marvelous Designer. I then added some sculpting detail and some fuzz with a particle sim.
Hair, including eyebrows, eyelashes, vellus hair, and facial hair, was created using particle hair sims and grooming tools. This was one of the most challenging parts of the project, as it can be difficult to get hair to look just right. I experimented with different beard lengths to achieve the desired effect.

After completing the texturing and hair stages, the last step was to light, render, and composite the final images. This involved setting up different studio lighting setups, such as 3-point lighting, loop, butterfly, clam shell, Rembrandt, etc. Compositing included color grading, vignette, and camera imperfections such as lens distortion, chromatic aberration, and film grain.


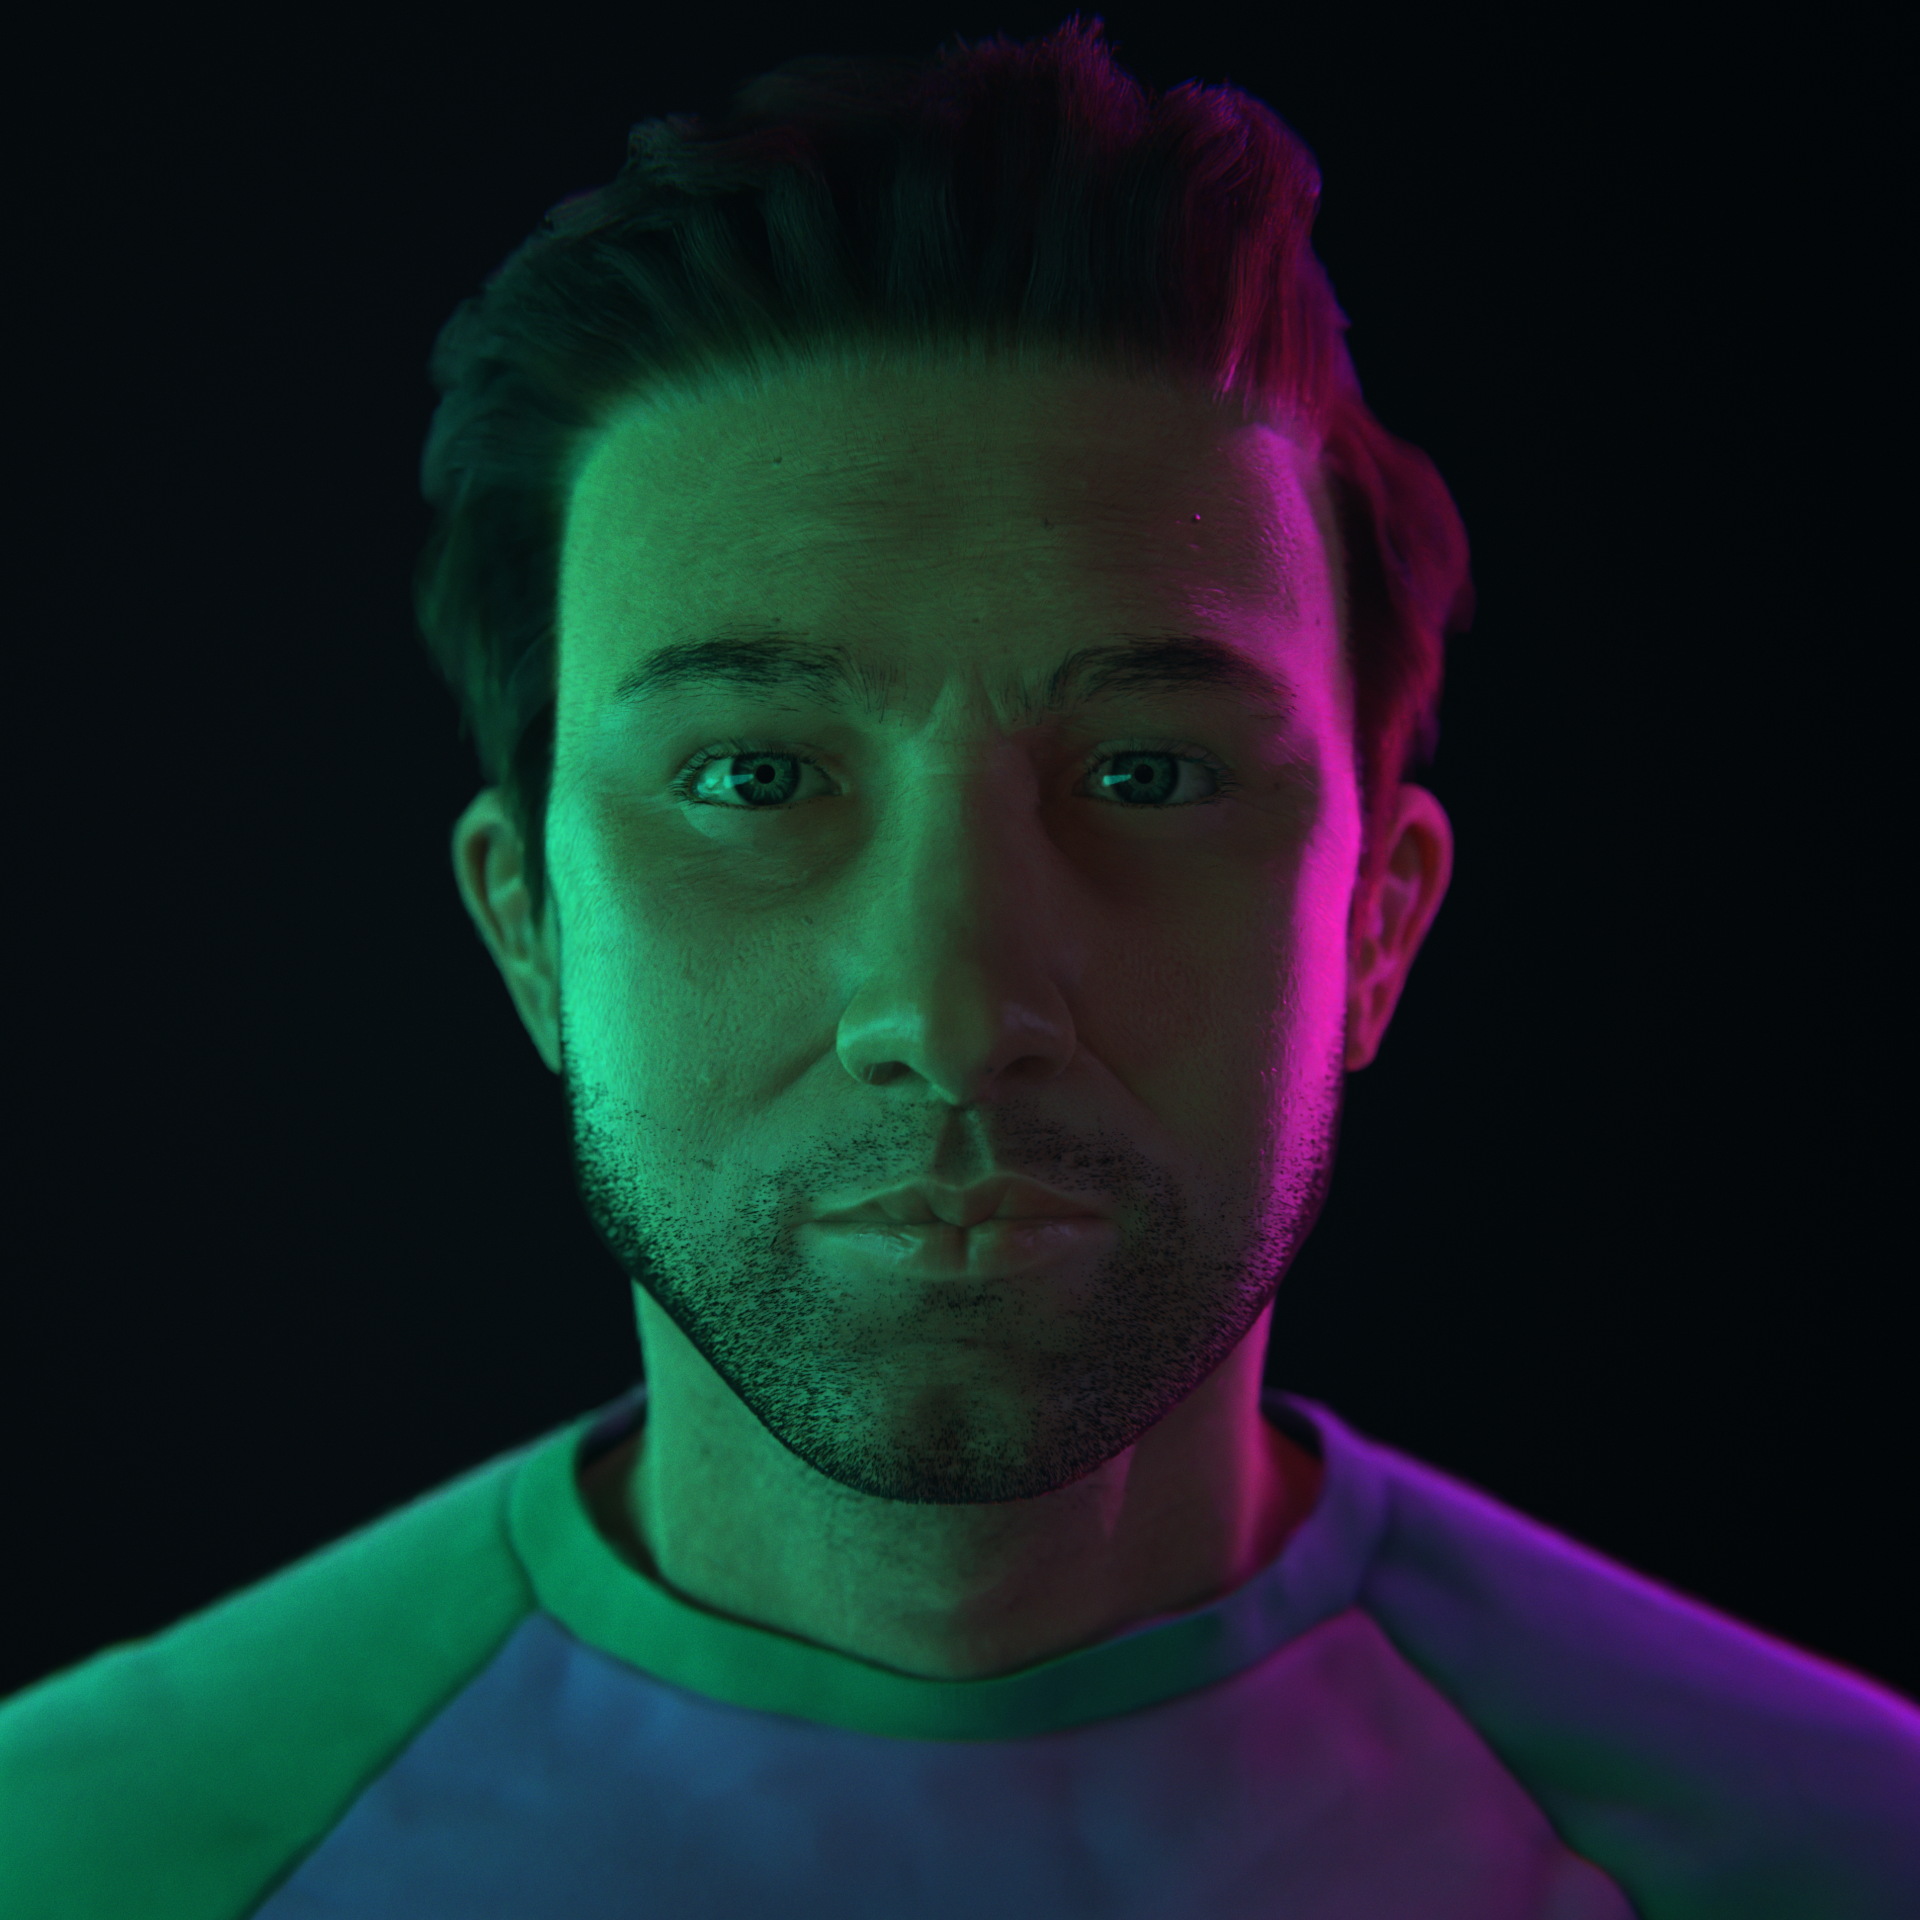

The end result was a highly detailed, realistic human model that I am incredibly proud of. However, upon reflection, I realize that there are areas in which I could have improved the model. For example, some of the facial feature proportions could have been more accurate, and the hair groom, particularly the beard, could have been perfected further. I view these as opportunities for growth and development as an artist, and I look forward to continuing to hone my skills in these areas.